Brand your client portal
In about 15 minutes you give the client portal your colors and logos and decide which menu items your clients see.
What you will have at the end
- A theme with your Background colors, Text colors and Border colors
- Your Logo, Icon and Favicon in the portal
- A menu that shows your clients only the items they need
Before you start
- Starter Starter , Pro or Enterprise — or the running trial
- Your logo as PNG or JPEG and, optionally, a favicon
- Your website address if FeatValue should pull colors and logos from it
Steps
-
Open Whitelabeling
Click Whitelabeling in the left sidebar, or Customize your portal on Complete setup. The Whitelabeling dialog opens. Without a paid plan it only shows a notice and Upgrade. Reference: Whitelabeling.
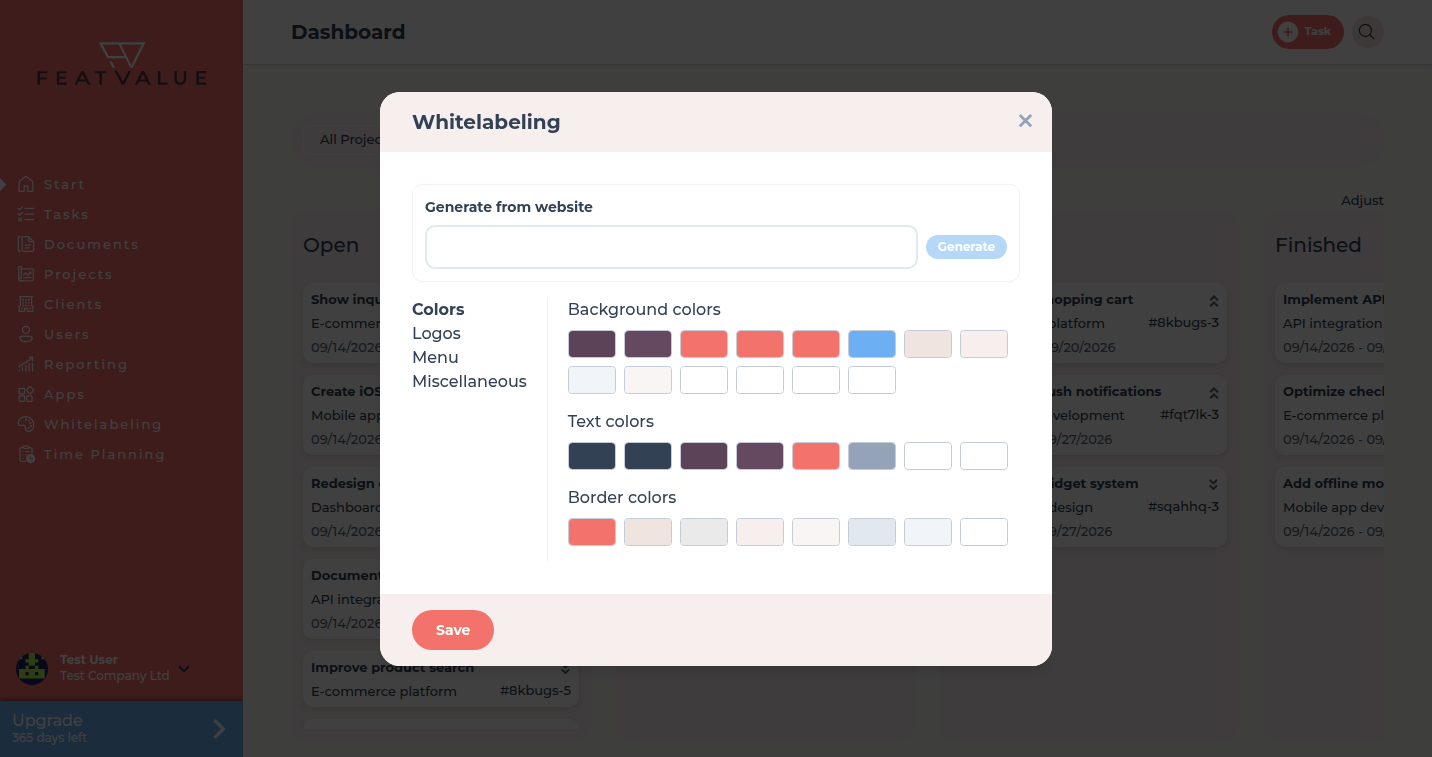
The Whitelabeling dialog of the demo agency. -
Pull colors and logos from your website
Enter your website address under Generate from website, starting with
https://, and click Generate. FeatValue suggests colors and logos. You can also skip this step and set everything by hand. Details: Generate a theme from a website. -
Adjust the colors
On the Colors tab, pick swatches under Background colors, Text colors and Border colors. Reset restores the FeatValue colors. Details: Logo and colors.
-
Upload the logos
On the Logos tab, upload your Logo for the sidebar, an Icon for the mobile view and a Favicon for the browser tab.
-
Choose the menu items for clients
Switch to the Menu tab. In the Client column, tick only the items your clients should see, such as Tasks and Documents. The Service Worker column does the same for service providers. Add your own entries with New menu item. Details: Menus and custom items.
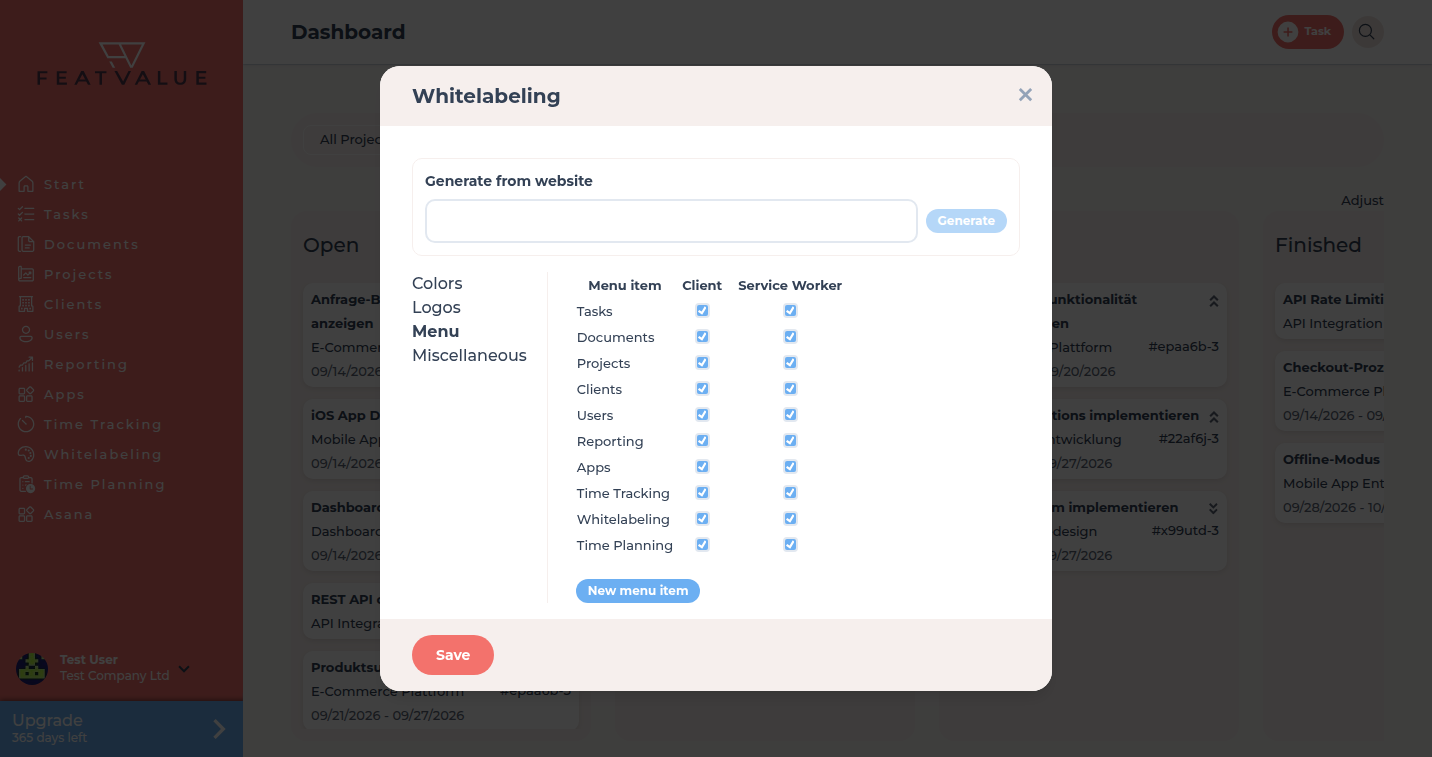
On Menu you decide what clients and service providers see. -
Save
Click Save at the bottom of the dialog. Complete setup closes Customize your portal once a theme exists for your company.
Check your result
After saving, FeatValue shows your colors and logo. Ask someone on the client side to sign in: they see your look and only the menu items you ticked in the Client column.
Next steps
- Organize your team
- Embed on your website if your clients should open the portal on your website
- Client portal basics to share with your clients
Your question has not been answered?
We will be happy to help you. You can send us an e-mail or arrange a video conference: